Precision CNC machining meets its match in integrated deep-cavity thin-wall structures. These components, essential to aerospace, medical, and communications industries, combine challenging depth with fragile wall thickness. Conventional methods often fail here. Success requires a systemic strategy that tackles tool rigidity, material stability, and thermal management as interconnected problems. This article details that methodology.
Deep cavity machining creates internal features where the depth is substantially greater than the width. A common rule defines it by a depth exceeding 100mm. However, a more practical and critical metric is the depth-to-tool-diameter ratio. When this ratio surpasses 5:1, the process enters a challenging regime.
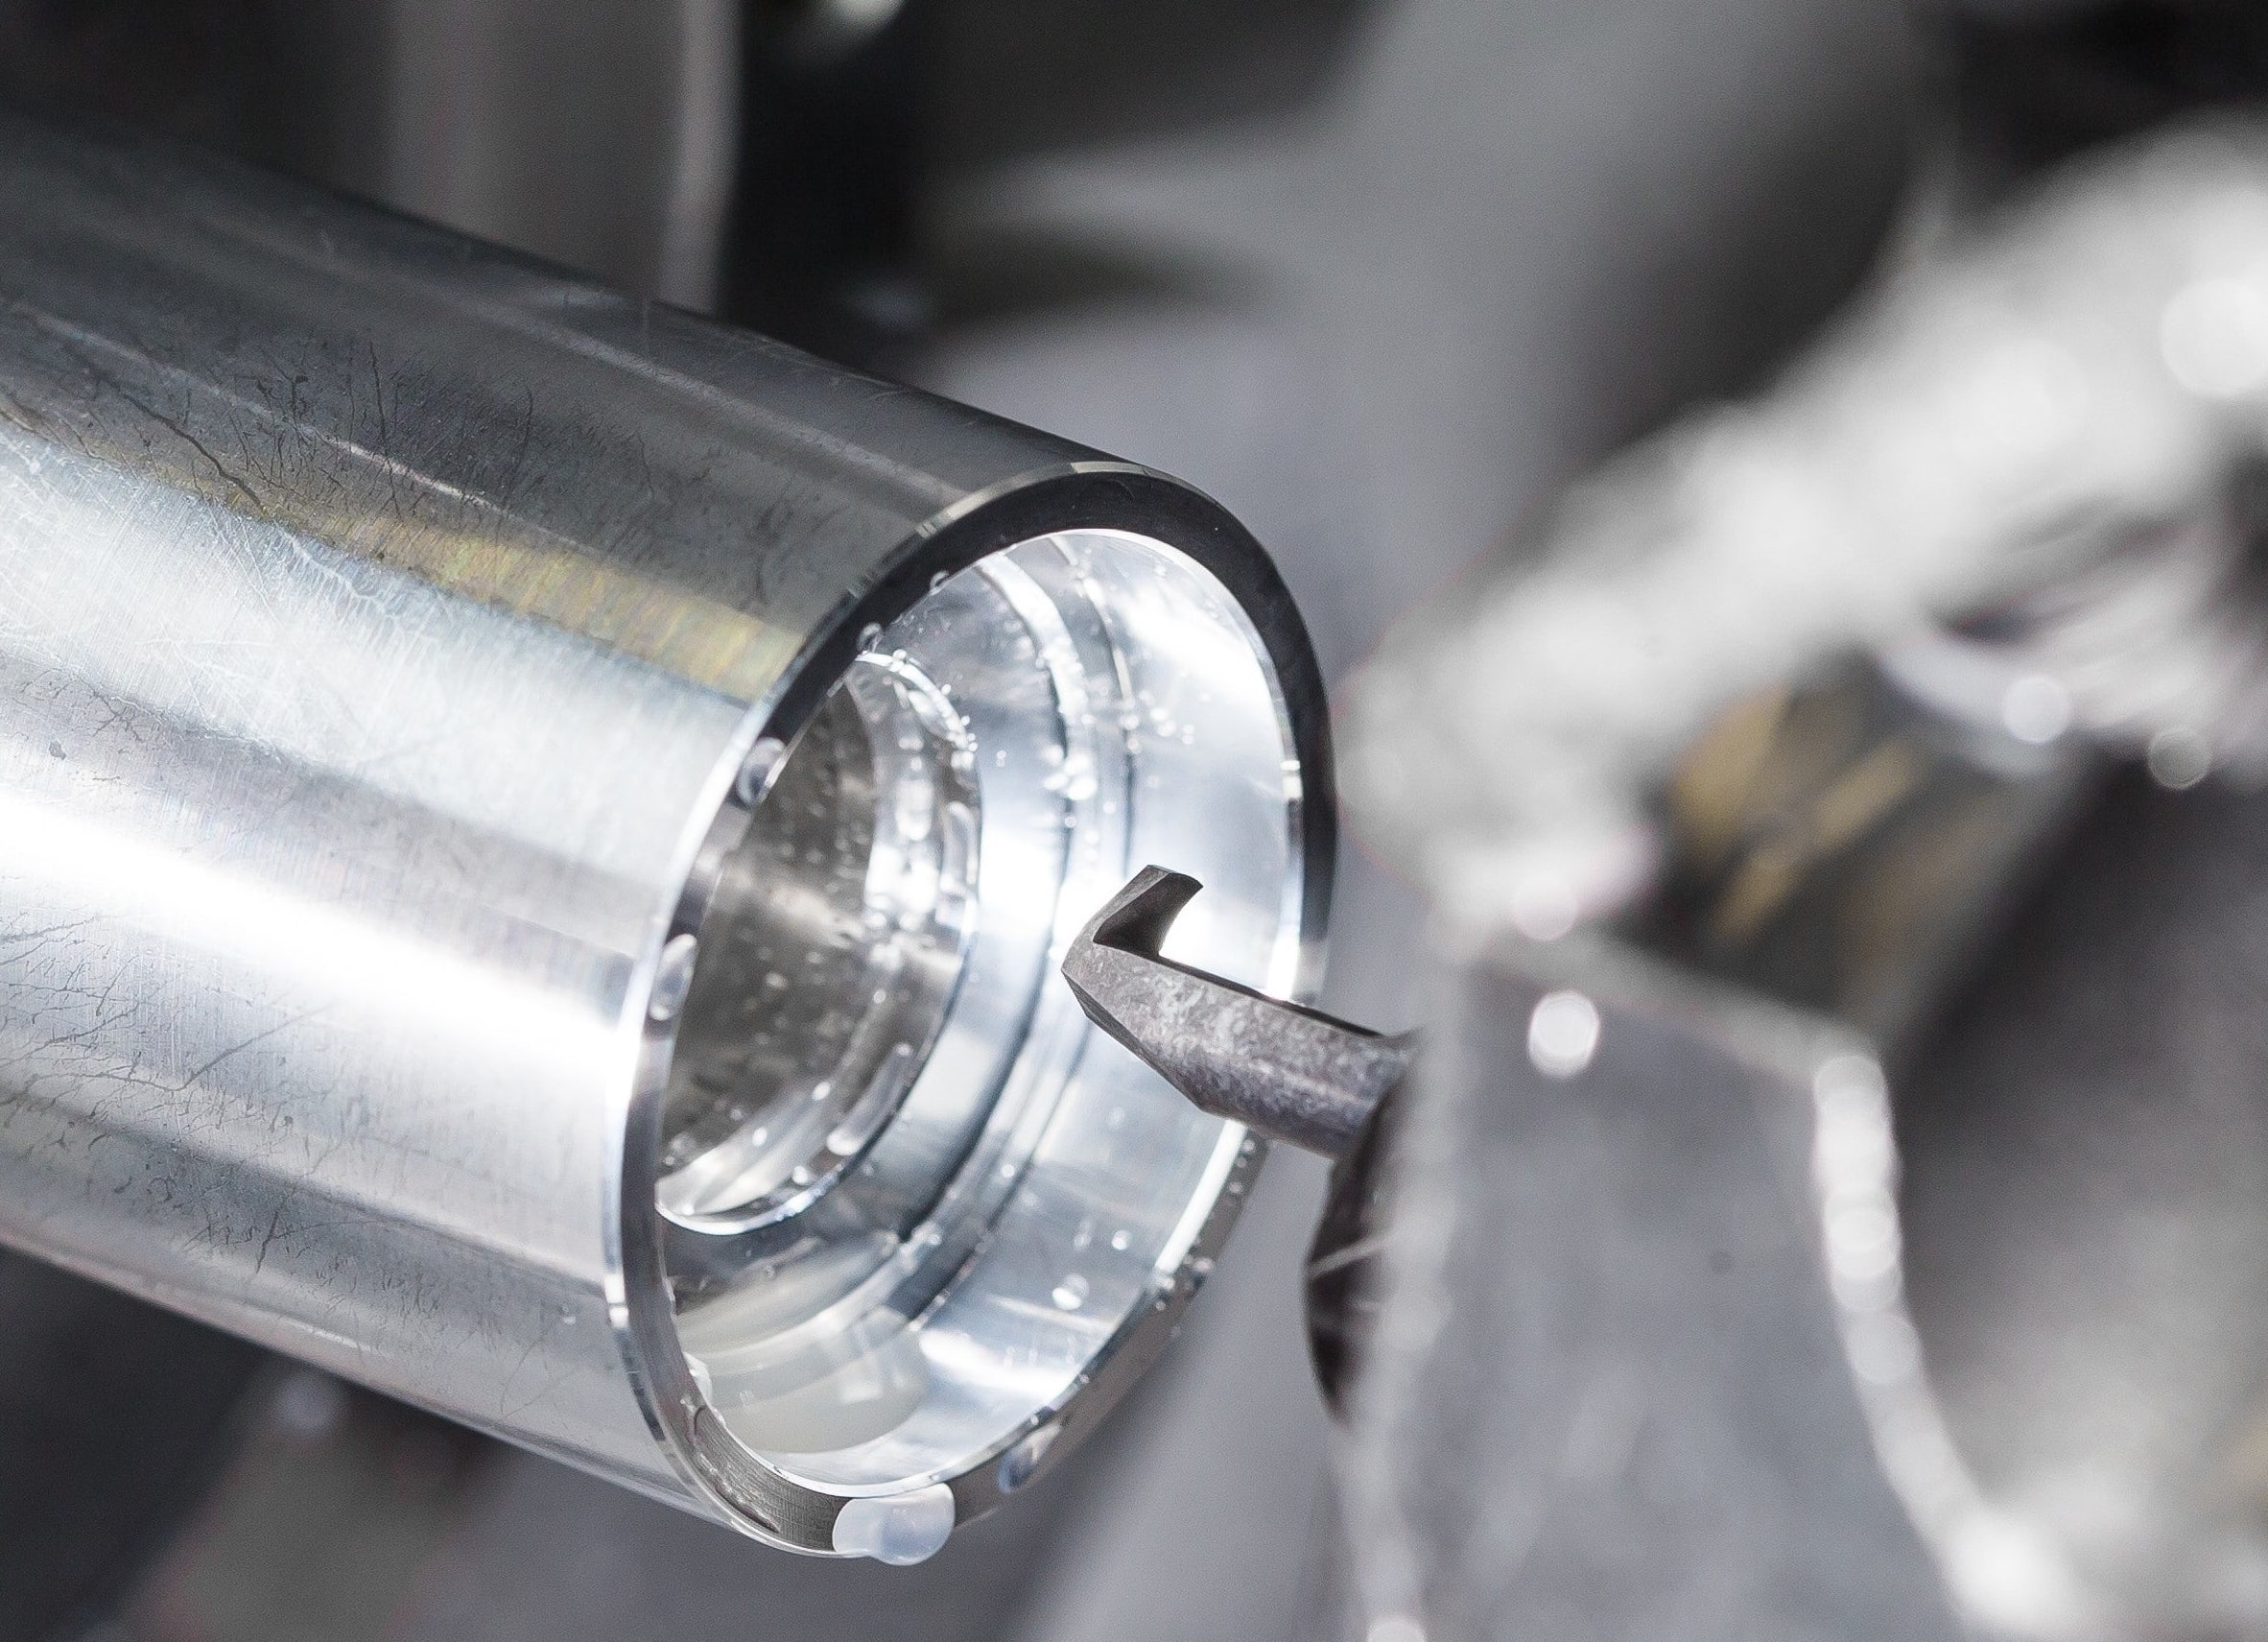
The core issue is the extended tool overhang. This leads to a critical loss of rigidity, which manifests as tool deflection and excessive vibration during cutting. As a consequence, maintaining tight dimensional accuracy becomes significantly more difficult.
Compounding these issues are the problems of chip evacuation and coolant delivery. In a deep cavity, it is hard to effectively remove chips and supply coolant to the actual cutting zone at the bottom. This struggle increases the risks of tool breakage and an unacceptable surface finish.
Thin-wall machining produces parts with structural walls that are exceptionally narrow, typically under 2mm in thickness. These delicate structures possess very low innate rigidity, making them highly vulnerable to machining-induced defects.
The primary risk is workpiece deformation. This is often caused by cutting forces that physically push the wall away from the tool, a phenomenon known as "tool push-off" or "spring back."
Furthermore, the heat generated from the cutting process itself poses a major threat. It causes localized thermal expansion in the wall, which then leads to distortion as the part cools down. Successfully managing these factors to achieve stable, accurate, and chatter-free cuts demands specialized techniques and meticulous process control.
Successfully machining parts with both deep cavities and thin walls requires a complete strategy. Standard methods often fail because solving one problem can make another worse. The key is to balance four areas: process planning, tooling, CNC programming, and workholding.
A smart process plan is the first defense against vibration and deflection. Do not try to machine a deep cavity in one go with a single long tool. Instead, use a staged roughing approach.
Choosing the right tools is non-negotiable. Tool geometry is your first priority. Use tools with variable pitch or a special neck design to dampen vibration and reduce chatter.
Also, always choose a tool with a corner radius. This small detail makes the cutting edge much stronger and leads to a better surface finish.
The tool material must match your workpiece. For aluminum, use sharp, uncoated or ZrN-coated carbide to prevent material from sticking. For steel or titanium, a strong carbide with an AlTiN coating is necessary.
Beyond the tool, a high-pressure coolant system is essential. It blasts away chips from the cutting zone and cools the tool directly. This is critical for preventing tool failure in deep cavities.
Your CNC program controls the forces acting on the tool and part. For roughing, use modern paths like trochoidal or adaptive milling. These methods keep the load on the tool constant. This reduces heat and force, protecting both the thin walls and the long tool.
The finishing pass is where accuracy is won or lost. The old method of machining in layers is a poor choice. It leaves visible lines on the wall and, because the tool bends differently at the top and bottom, creates a tapered wall.
The best method is a one-pass spiral toolpath. The tool spins down the wall in a continuous motion. Even if the tool bends, it bends the same amount all the way down. This creates a smooth, uniform surface and a perfectly straight wall.
You cannot machine a precise thin-wall part if it is not held correctly. Standard vises can squeeze and distort the part.
Part Overview:
Material: Aluminum 6061-T6
Challenge: A central cavity of 120mm depth, with surrounding walls of 1.0mm nominal thickness. The cavity's corner radius is 5mm, resulting in a demanding depth-to-radius ratio of 24:1.
Key Requirements: Wall perpendicularity ≤ 0.08 mm, Surface roughness Ra ≤ 0.8 µm.
Applied Strategy & Results:
Process: A ∅20mm through-hole was pre-drilled at the cavity center. Roughing was performed in two stages: first with a short, 4-flute end mill for the top 60mm, then with an anti-vibration long-reach tool for the lower 60mm, using reduced adaptive clearing parameters.
Tooling: A dedicated ∅10mm, 3-flute, long-neck solid carbide end mill with a ZrN coating was selected for finishing.
Programming: The finishing pass was executed using a one-pass spiral (helical) toolpath, generated in a high-end CAM system.
Coolant: A dual-port, 80-bar HPC system was directed at the tool-part interface.
Outcome:
The spiral finishing strategy was decisive. It completely eliminated the visible layer lines and taper associated with Z-level finishing. The final part met all dimensional requirements, with a perpendicularity of 0.05mm and a surface roughness of Ra 0.6 µm. The cycle time was reduced by 20% compared to an initial, less optimized process.
Machining integrated deep-cavity thin-wall structures is achievable through a disciplined, systematic methodology. There is no single solution; success lies in the synergistic application of staged process planning, strategic tooling, advanced CNC programming, and dedicated workholding. By adopting this comprehensive approach, manufacturers can overcome this significant manufacturing challenge with repeatable precision and efficiency.
Facing a manufacturing challenge? Let's discuss how our expertise can bring precision, efficiency, and reliability to your project. Contact Dadesin today via [email protected] for a consultation and quote.
By continuing to use the site you agree to our privacy policy Terms and Conditions.


